Living a photographer’s lifestyle can seem like an invigorating and creative journey. You’re constantly on the move, capturing priceless moments and transforming them into lasting memories. But what people fail to realize is how intricate the process is behind those mesmerizing images. A perfect example of this is when developing film in a darkroom. This hands-on process results in the creation of visually stunning and emotionally charged photographs, capturing the essence of the moment in a unique way that digital images sometimes cannot replicate.
But, let’s face it, it can be inconvenient to have to drive to a studio or photography lab to access a darkroom every time you want to bring your images to life. Fortunately, this blog is here to bring the darkroom to you. Here, you can learn how to transform your garage into a fully functional darkroom. No more waiting around; soon enough, you’ll be developing your own film and crafting captivating images in a space you were previously underutilizing.
How To Build A Darkroom In Your Garage
With the steps below, you will finally know how to build a darkroom in your garage:
Step 1: Preparing Your Garage
In order to transform your garage into a functional darkroom, you must first clear out your garage. All the items you’ve been storing, that old furniture, and even the forgotten sports equipment should all be removed. You want to make sure your garage space is completely empty so you can bring in your darkroom equipment.
Step 2: Embracing the Darkness
Your garage must embrace the darkness. This is the only way for you to create the perfect darkroom ambiance. To start, you’ll need to block out external light by installing blackout curtains or blinds on your garage windows. Your garage will be the ideal light-tight chamber for photo development.
Step 3: Ventilation: A Breath of Fresh Air
When it comes to film development, your space must be properly ventilated so your images can come to life. We recommend installing a ventilation system to ensure fresh air circulates through your darkroom. Your chemicals will be better managed, and your space will be more comfortable.
Step 4: Creating Your Workstation
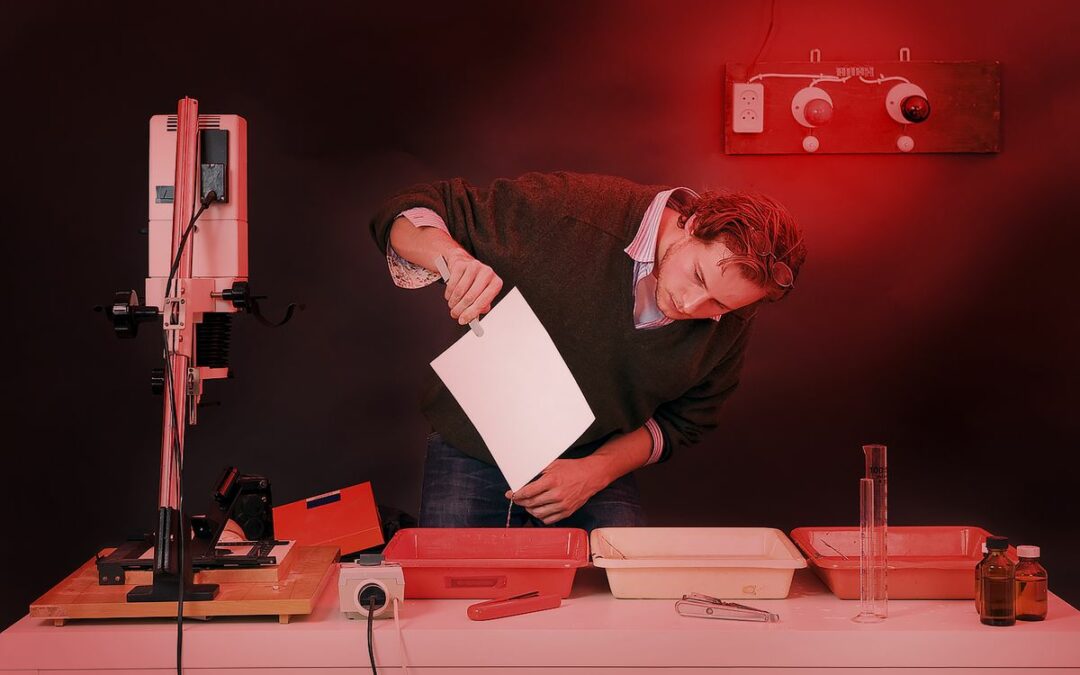
Now it’s time to create the perfect workstation where you can create masterful works of art. You will need a sturdy table to support your enlarger, trays, and other essential equipment. But that’s not all; you will need adequate shelving, storage solutions, and proper lighting. These additions to your darkroom workstation will ensure efficient workflow and a conducive environment for developing captivating images.
Step 5: Lighting the Way
Speaking of lighting, for your darkroom photography to be successful, you will need appropriate safelights. Invest in red safelights so you can create a low-light atmosphere. This lighting condition will allow you to work with photosensitive materials without compromising your film.
Step 6: Ensuring Safety and Security
Safety is paramount when it comes to your darkroom, especially since you’ll be working with chemicals. The best way to ensure your safety is by securing your garage space with proper security measures. Install a lockable door and windows, providing peace of mind during your late-night creative sessions.

Embrace The Art Of Film Development
With these steps on how to build a darkroom in your garage, you will be able to successfully embrace the art of film development. No more relying on external darkrooms just to bring one image to life. With your own darkroom conveniently set up, you will be able to unleash your creativity at any time.
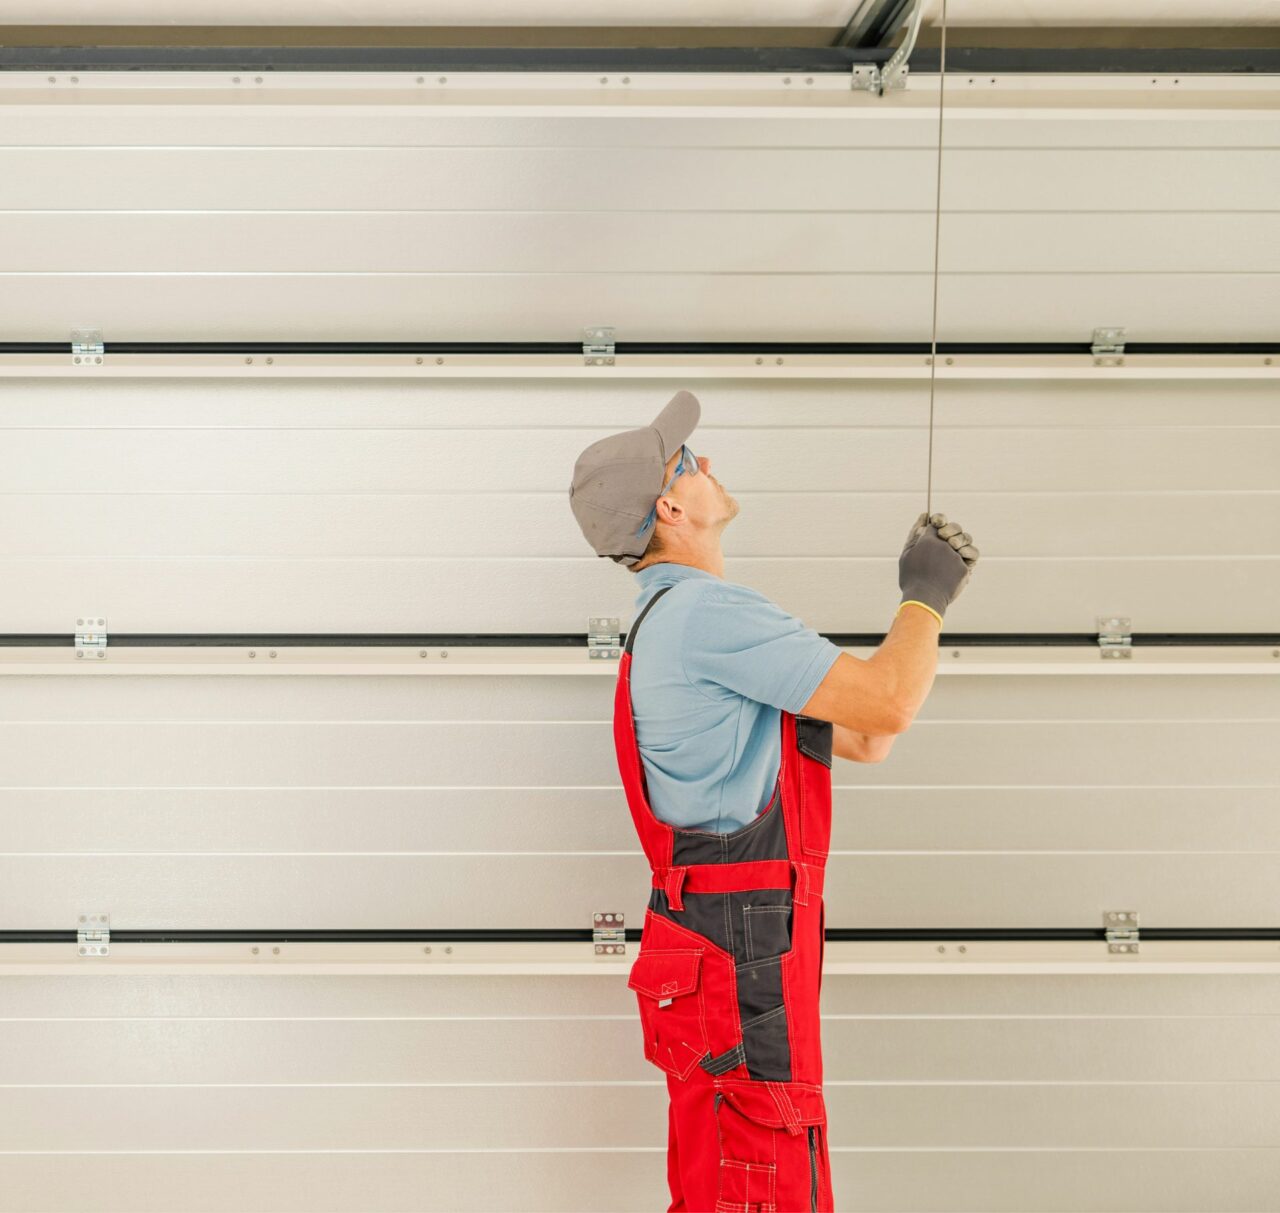
Just be sure to give Best Garage Door Repair Houston a call to ensure your space is completely secure. We can help by ensuring your garage door is in the best shape possible to protect your space. We offer repair and maintenance services to keep your garage secure and functioning seamlessly. With our assistance, you will bring to life countless photographic masterpieces.

